Setup the Boltduino
Make your Arduino Projects IoT ready. Make them on Boltduino.
The Boltduino can be used in the same manner as the Arduino, without any extra setup.
This setup procedure is required to use the Boltduino as a Boltduino. This page details how to set up the Arduino IDE to allow you to wirelessly update the firmware on the Boltduino using the Bolt Cloud. The process of updating the firmware of a device over the Internet is called OTA update (short for Over The Air update).
We have also included steps to set up the BoltIoT-Arduino-Helper library, which will make it easier to build IoT ready projects on the Boltduino using the Bolt.
Prerequisite
- Internet connection with 256kBps speed or better.
- A computer with 32 bit/64 bit Windows, Linux (Ubuntu preferred) or Mac OS. Arm-based computers are not supported.
- Arduino IDE 1.8.4 to 1.8.6. Click here to get the the required version of the Arduino IDE.
- Bolt unit with Firmware version 1.2.0 or higher. To find out how to update your Bolt unit click here.
- Bolt Cloud account. To find out how to set up the Bolt unit with your Bolt Cloud account click here
- Boltduino with power supply.
NOTE Arduino IDE version 1.8.7 and higher will not allow you to upload the code without selecting a port. This will be troublesome if your computer does not have a serial port or an equivalent device that is detected as a serial port by the Arduino IDE.
Development Environment Setup
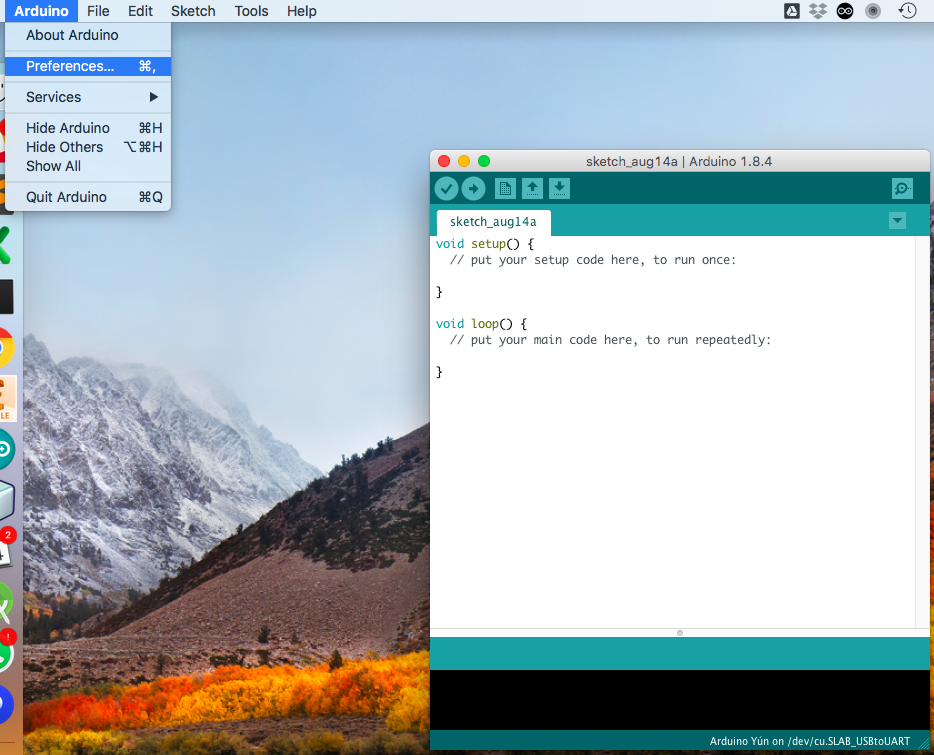
- Open Arduino IDE
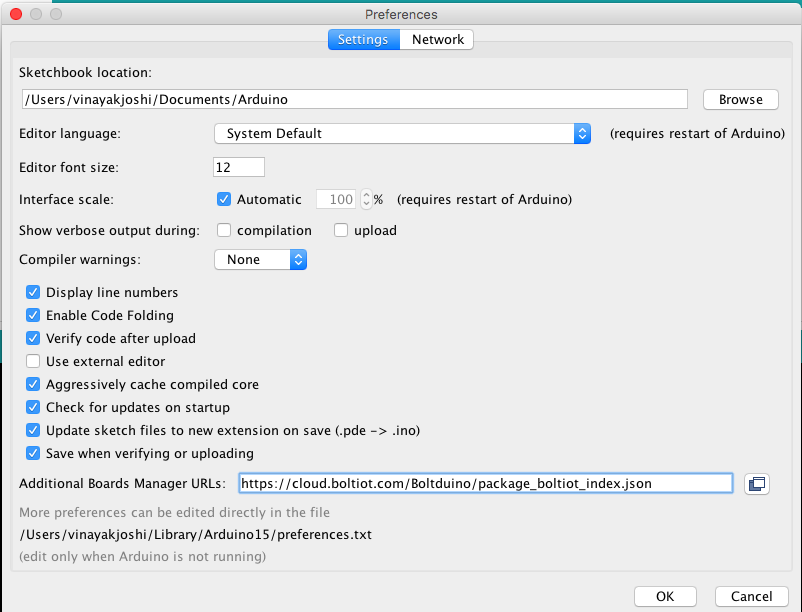
- Go to Arduino>Preferences on mac, and File>Preferences on Windows and Linux.
- Copy the following link and paste it into the Additional Boards Manager URLs field, and click on Ok.
- Navigate to Tools>Boards: "Arduino/Genuino Uno">Boards Manager.
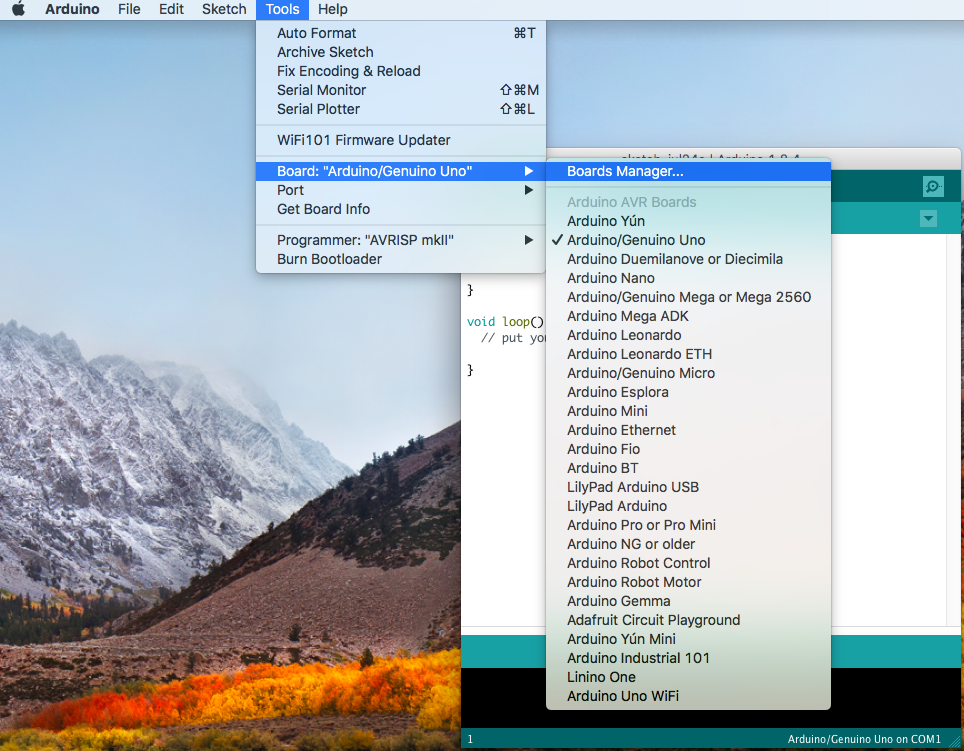
- Wait for the Boards manager to download the package lists.

- Type in BoltIoT in the search box. The search box is not case sensitive.
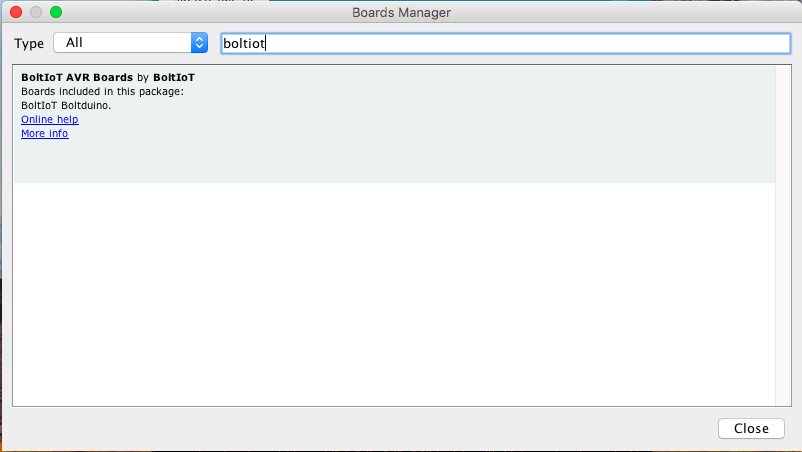
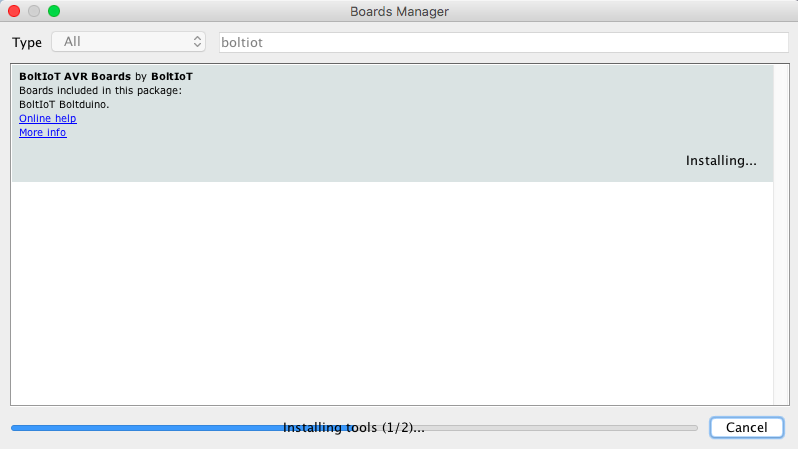
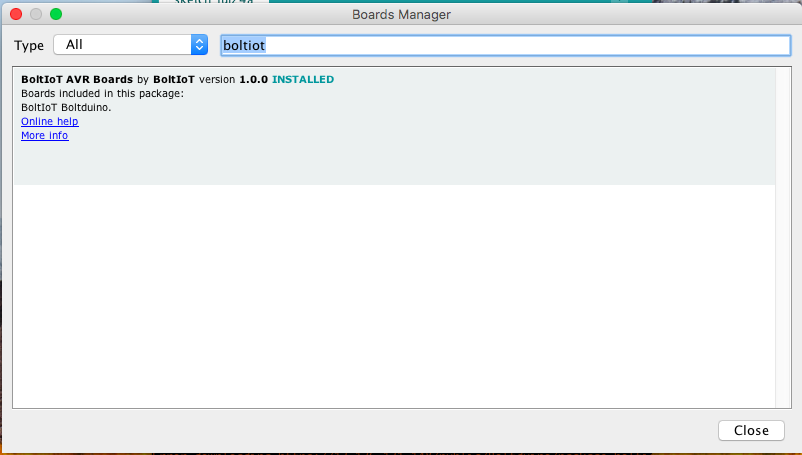
- Click on the BoltIoT AVR Boards by BoltIoT in the list. An 'install' button will show up. Click the 'install' button.
- Once the installation is complete click on close
- Go to Tools>Boards: "<Arduino/Genuino Uno>" and select Boltduino.
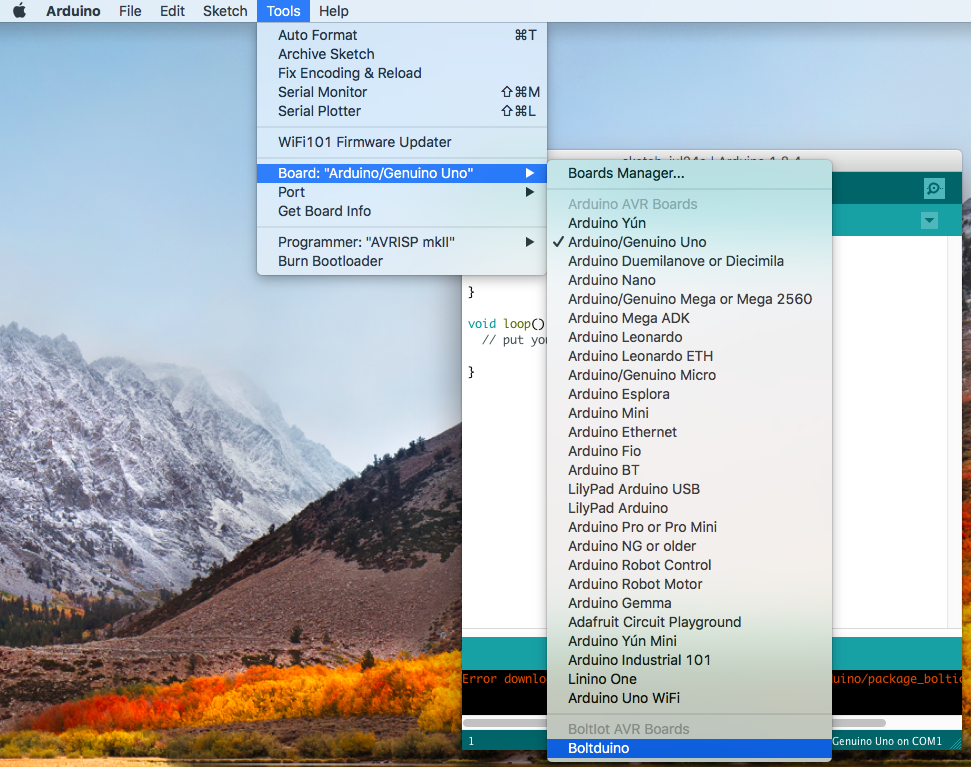
- Once you select Boltduino, the IDE will display that you are using the Boltduino at the bottom right corner of the window. Depending on what OS you are using, the message will change. But it will always display 'Boltduino on' at the start of the message.

Your Development Environment Setup is now complete.
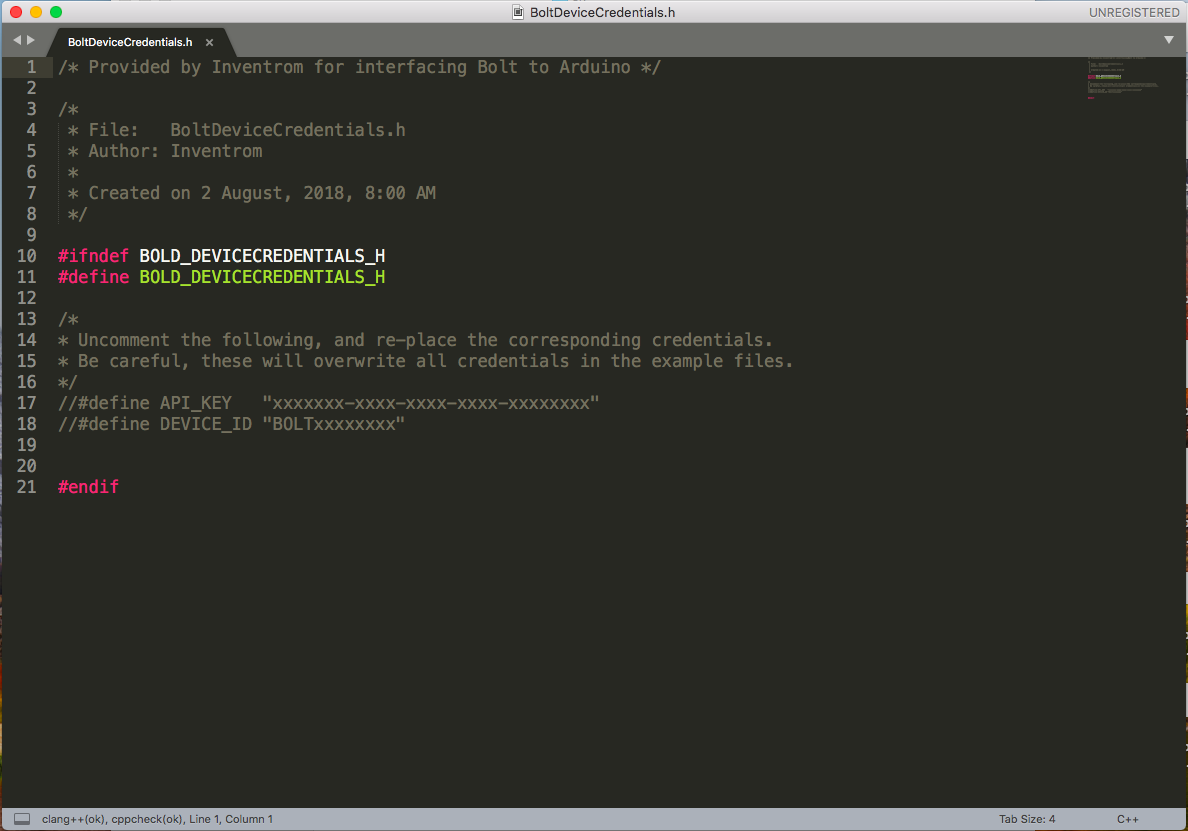
The following steps help you specify a global API_KEY and DEVICE_ID which you can use with all your Boltduino projects, by just including the file 'BoltDeviceCredentials.h' in your code in the following manner.
- Download the BoltIoT-Arduino-Helper library by clicking here.
NOTE: Click yes if your browser asks whether you want to save the file.
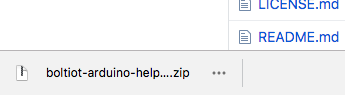
NOTE DO NOT UNZIP THE FILE. IF YOU HAVE UNZIPPED THE FILE DELETE THE NEW FOLDER WHICH IS CREATED.
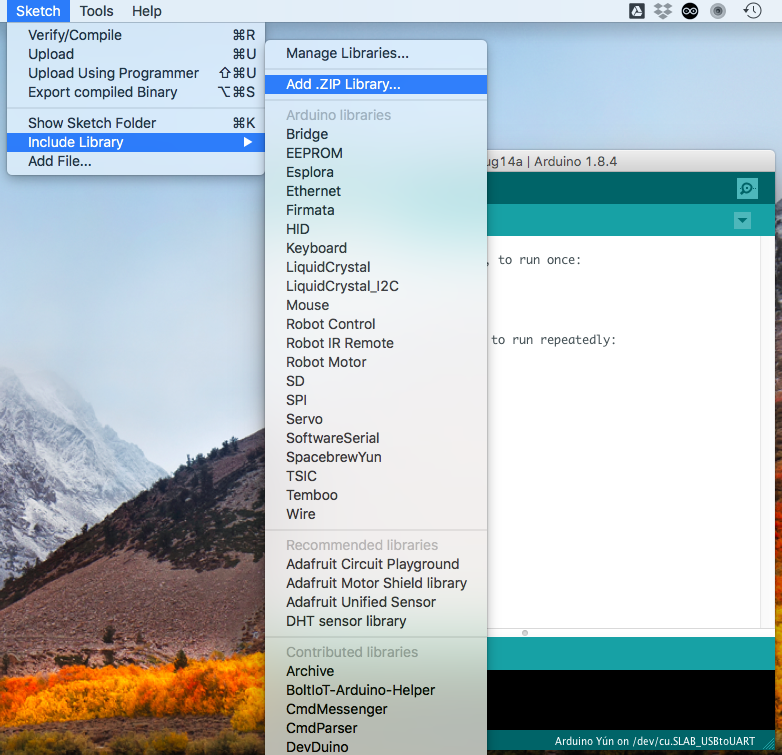
- Go to the Arduino IDE, navigate to "Sketch>Include Library>Add .ZIP Library"
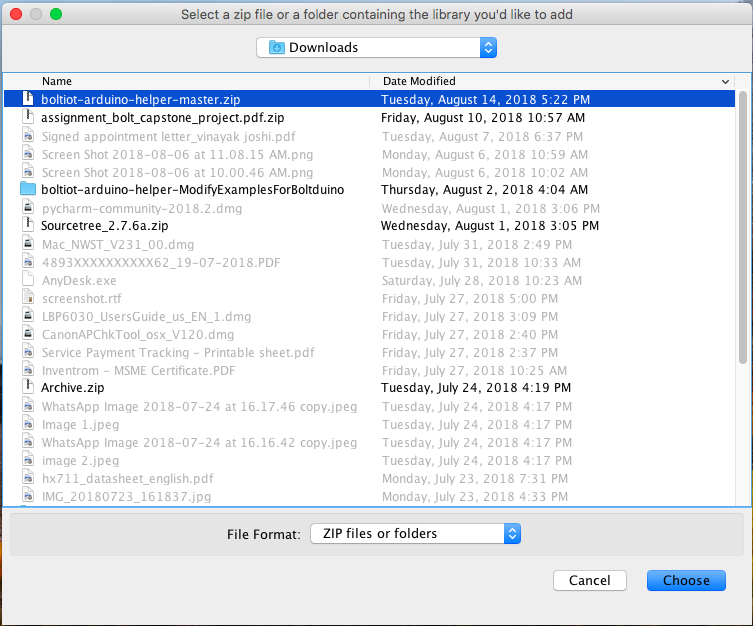
- In the popup, navigate to the zip file you downloaded earlier, and click the 'Choose' button.
- Now go to your Documents folder.
- On Mac you can open a finder, and then click ⌘+O.
- On Windows you can search for "My Documents" in the start menu.
- On Linux press the start button, type "Documents" in the search bar and press enter.
- From here go to the installed location of the library source files by going through the following folders.
Arduino>libraries>boltiot-arduino-helper-master>src
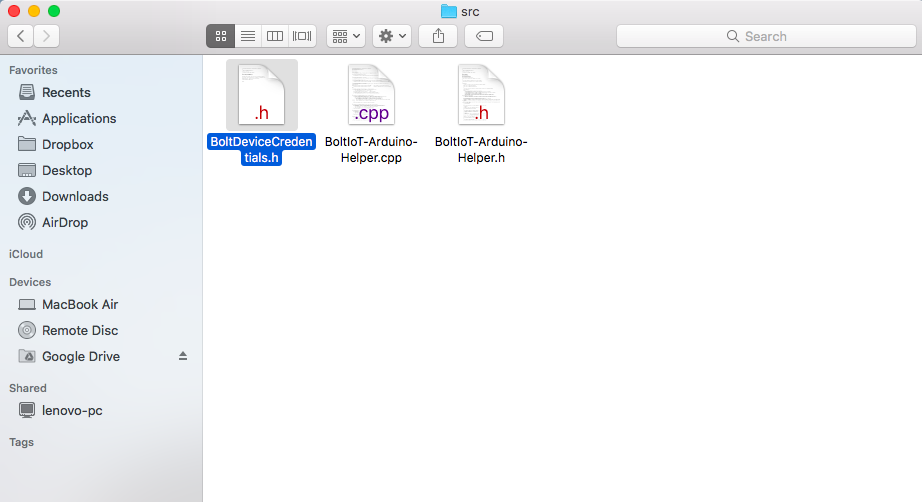
- Open the file 'BoltDeviceCredentials.h' in a text editor.
NOTE: You can use any text editor you are comfortable with. We will be using sublime text. If you are not sure what to use, we recommend using WordPad.
NOTE It is best to right-click on the file, select open with, and then select the text editor you are comfortable with.
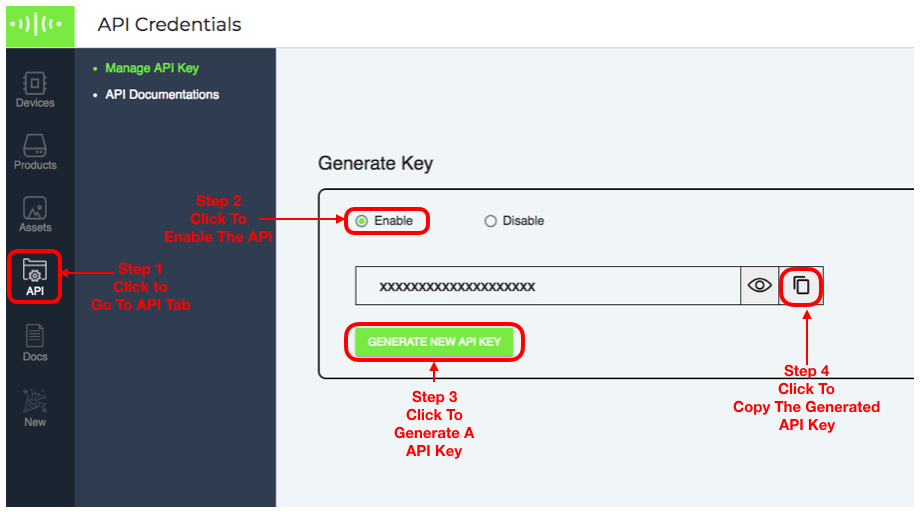
- Get your API Key from the API tab on the Cloud dashboard by clicking here. View the image below to copy the API key.
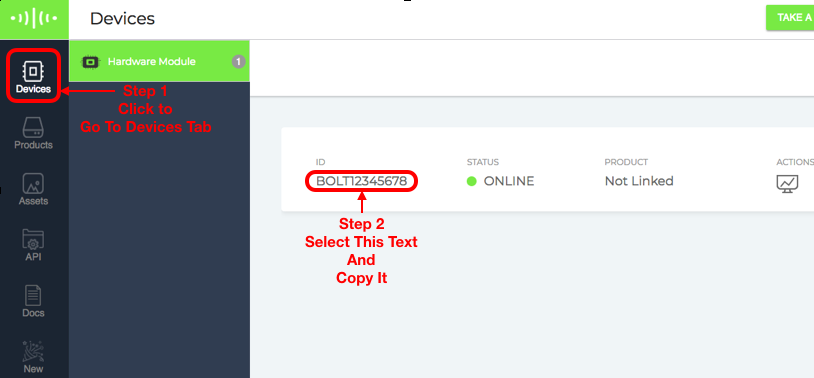
- Get the device id from the Devices tab on the Cloud dashboard, by clicking here.
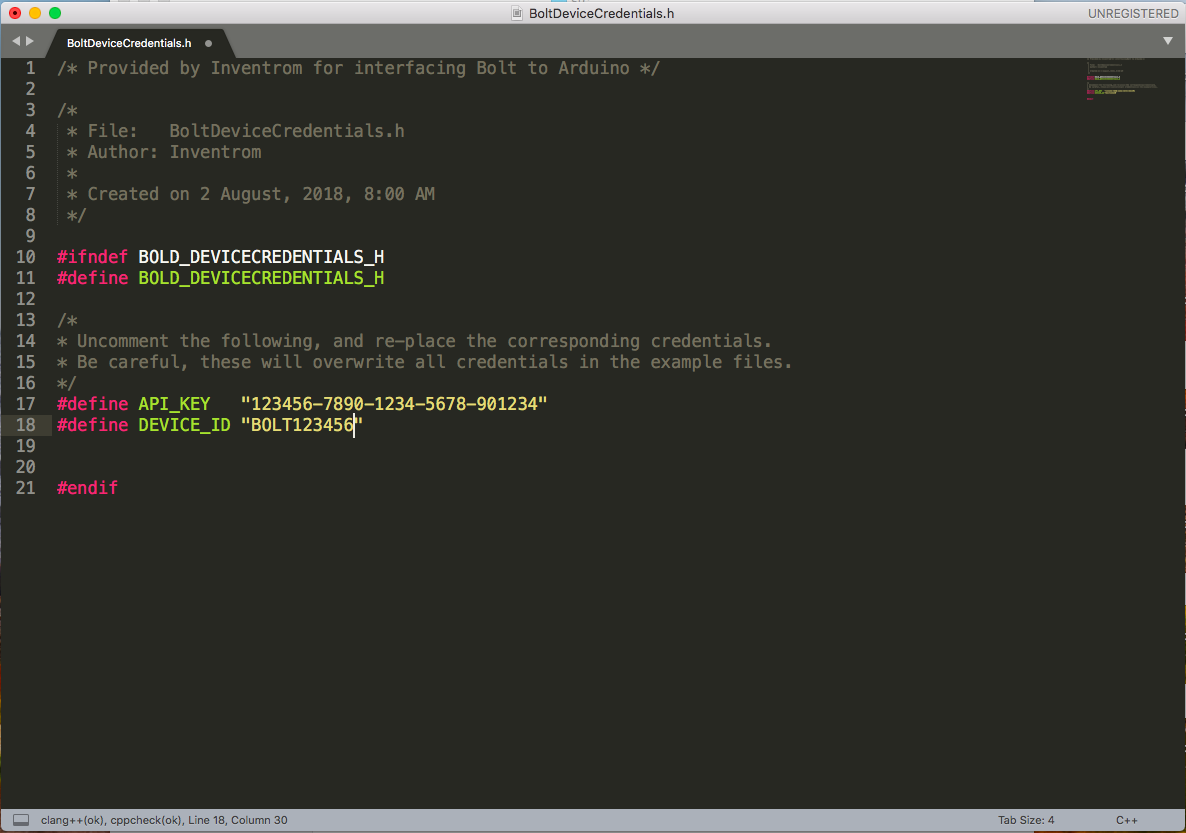
- Uncomment the API_KEY and DEVICE_ID macros and add the data you copied in the earlier steps for the macros as shown in the images.
- Save the file (In the menus file>save) and close the text editor.
The Global API key and Device ID has now been set up for OTA update.
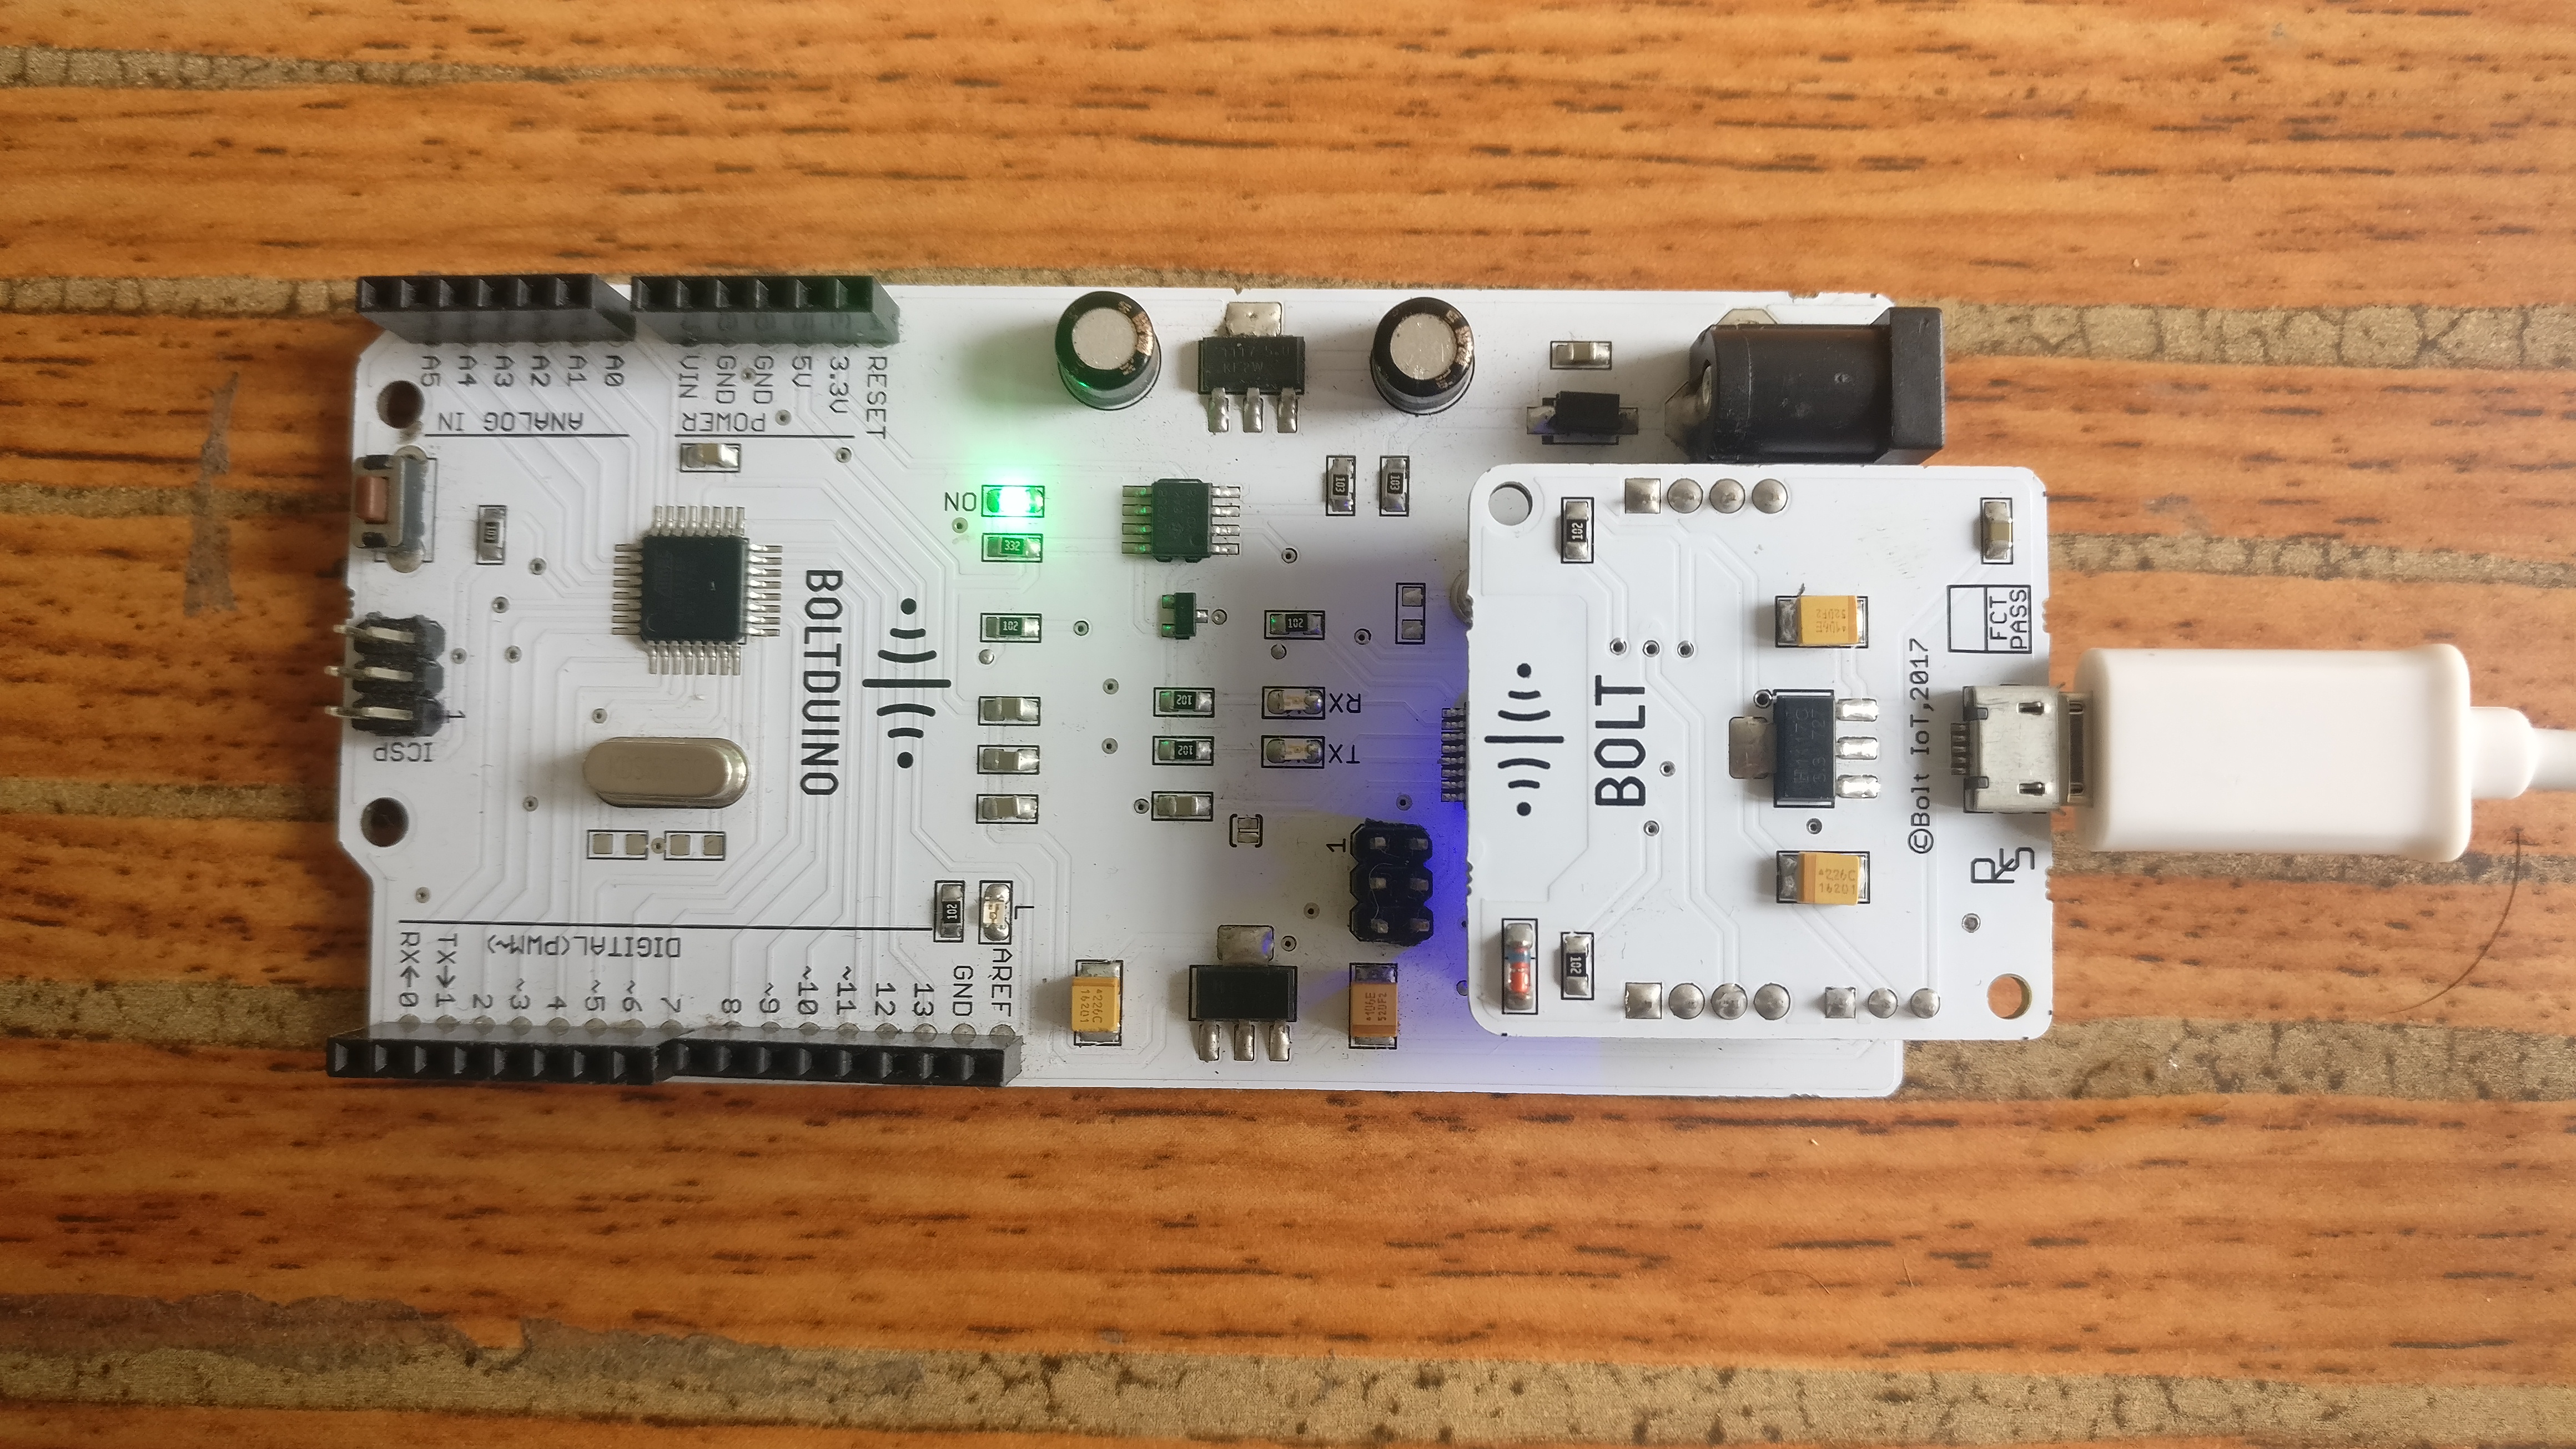
- Connect the Bolt unit to the Boltduino.

Bolt unit alignment with Boltduino
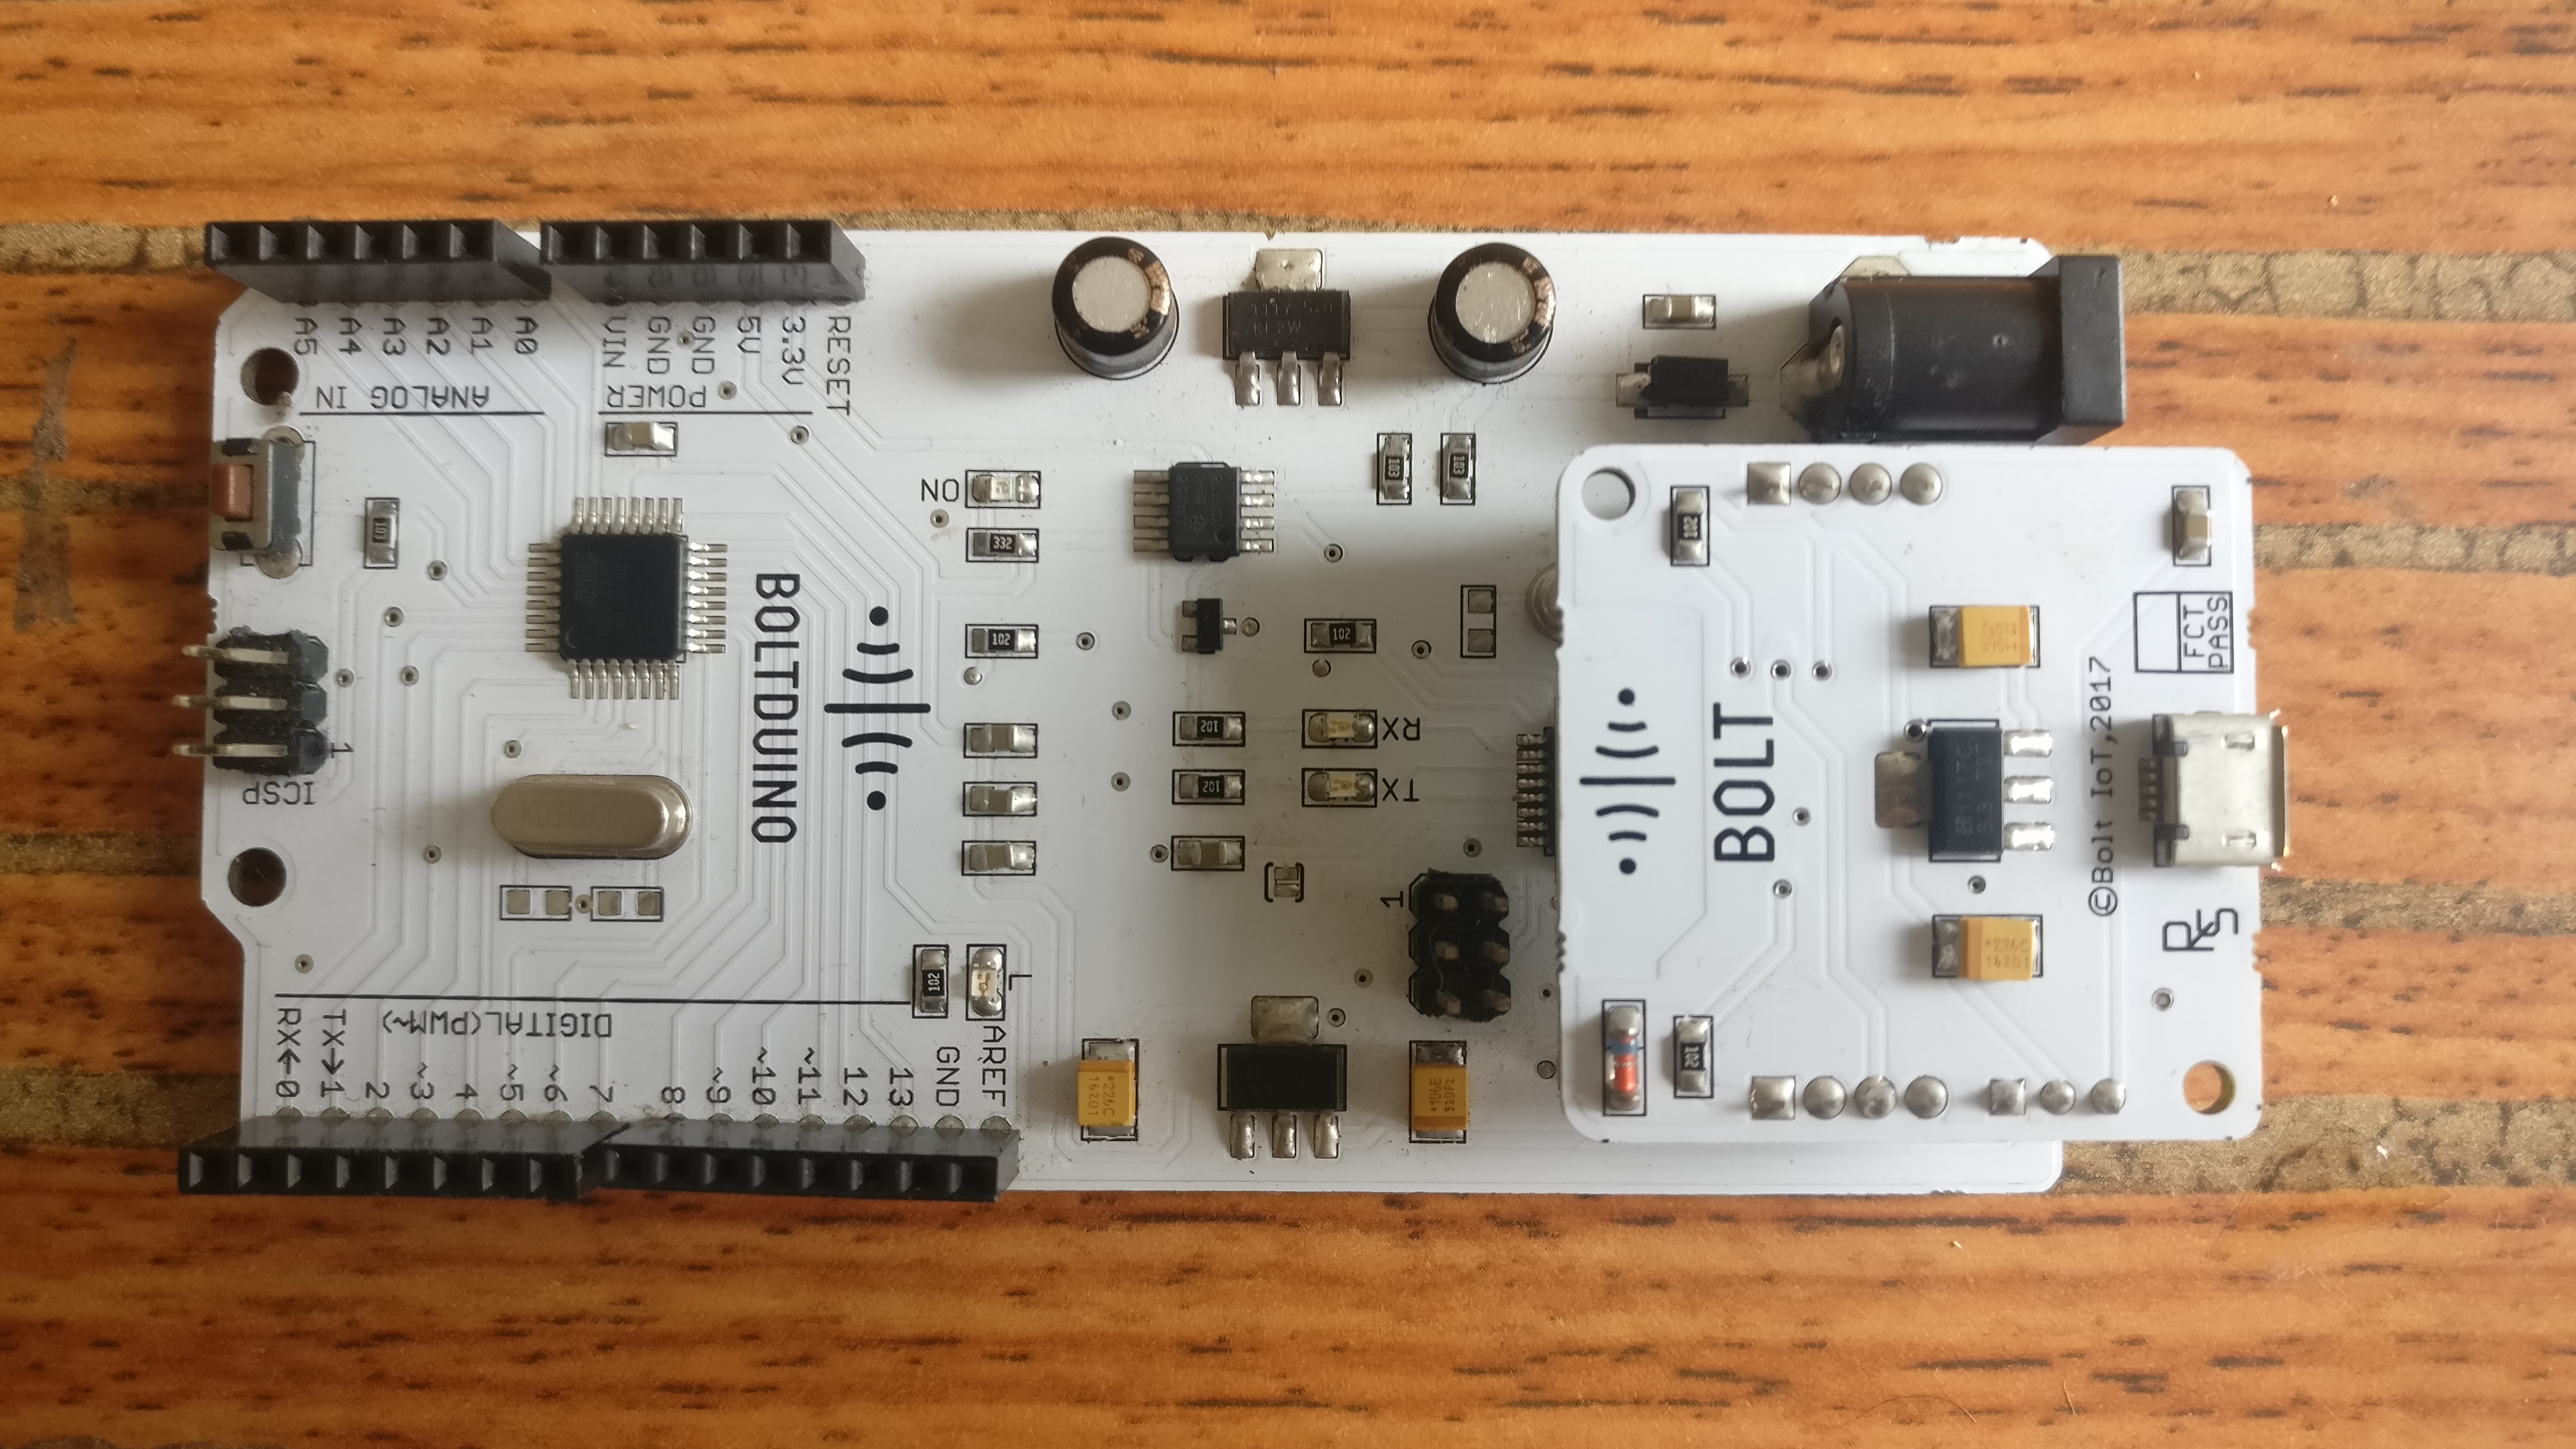
Bolt unit mounted on Boltduino
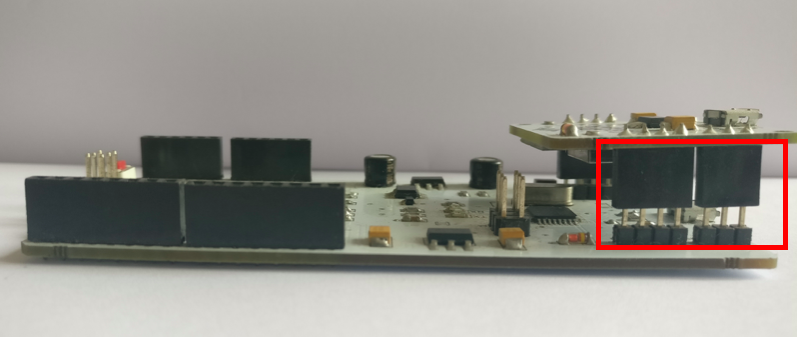
Incorrect mounting

Correct mounting
NOTE: Ensure that the pins are tightly locked as per the correct mounting method as shown in the above images.
- Power up the Boltduino using any one of the following methods.
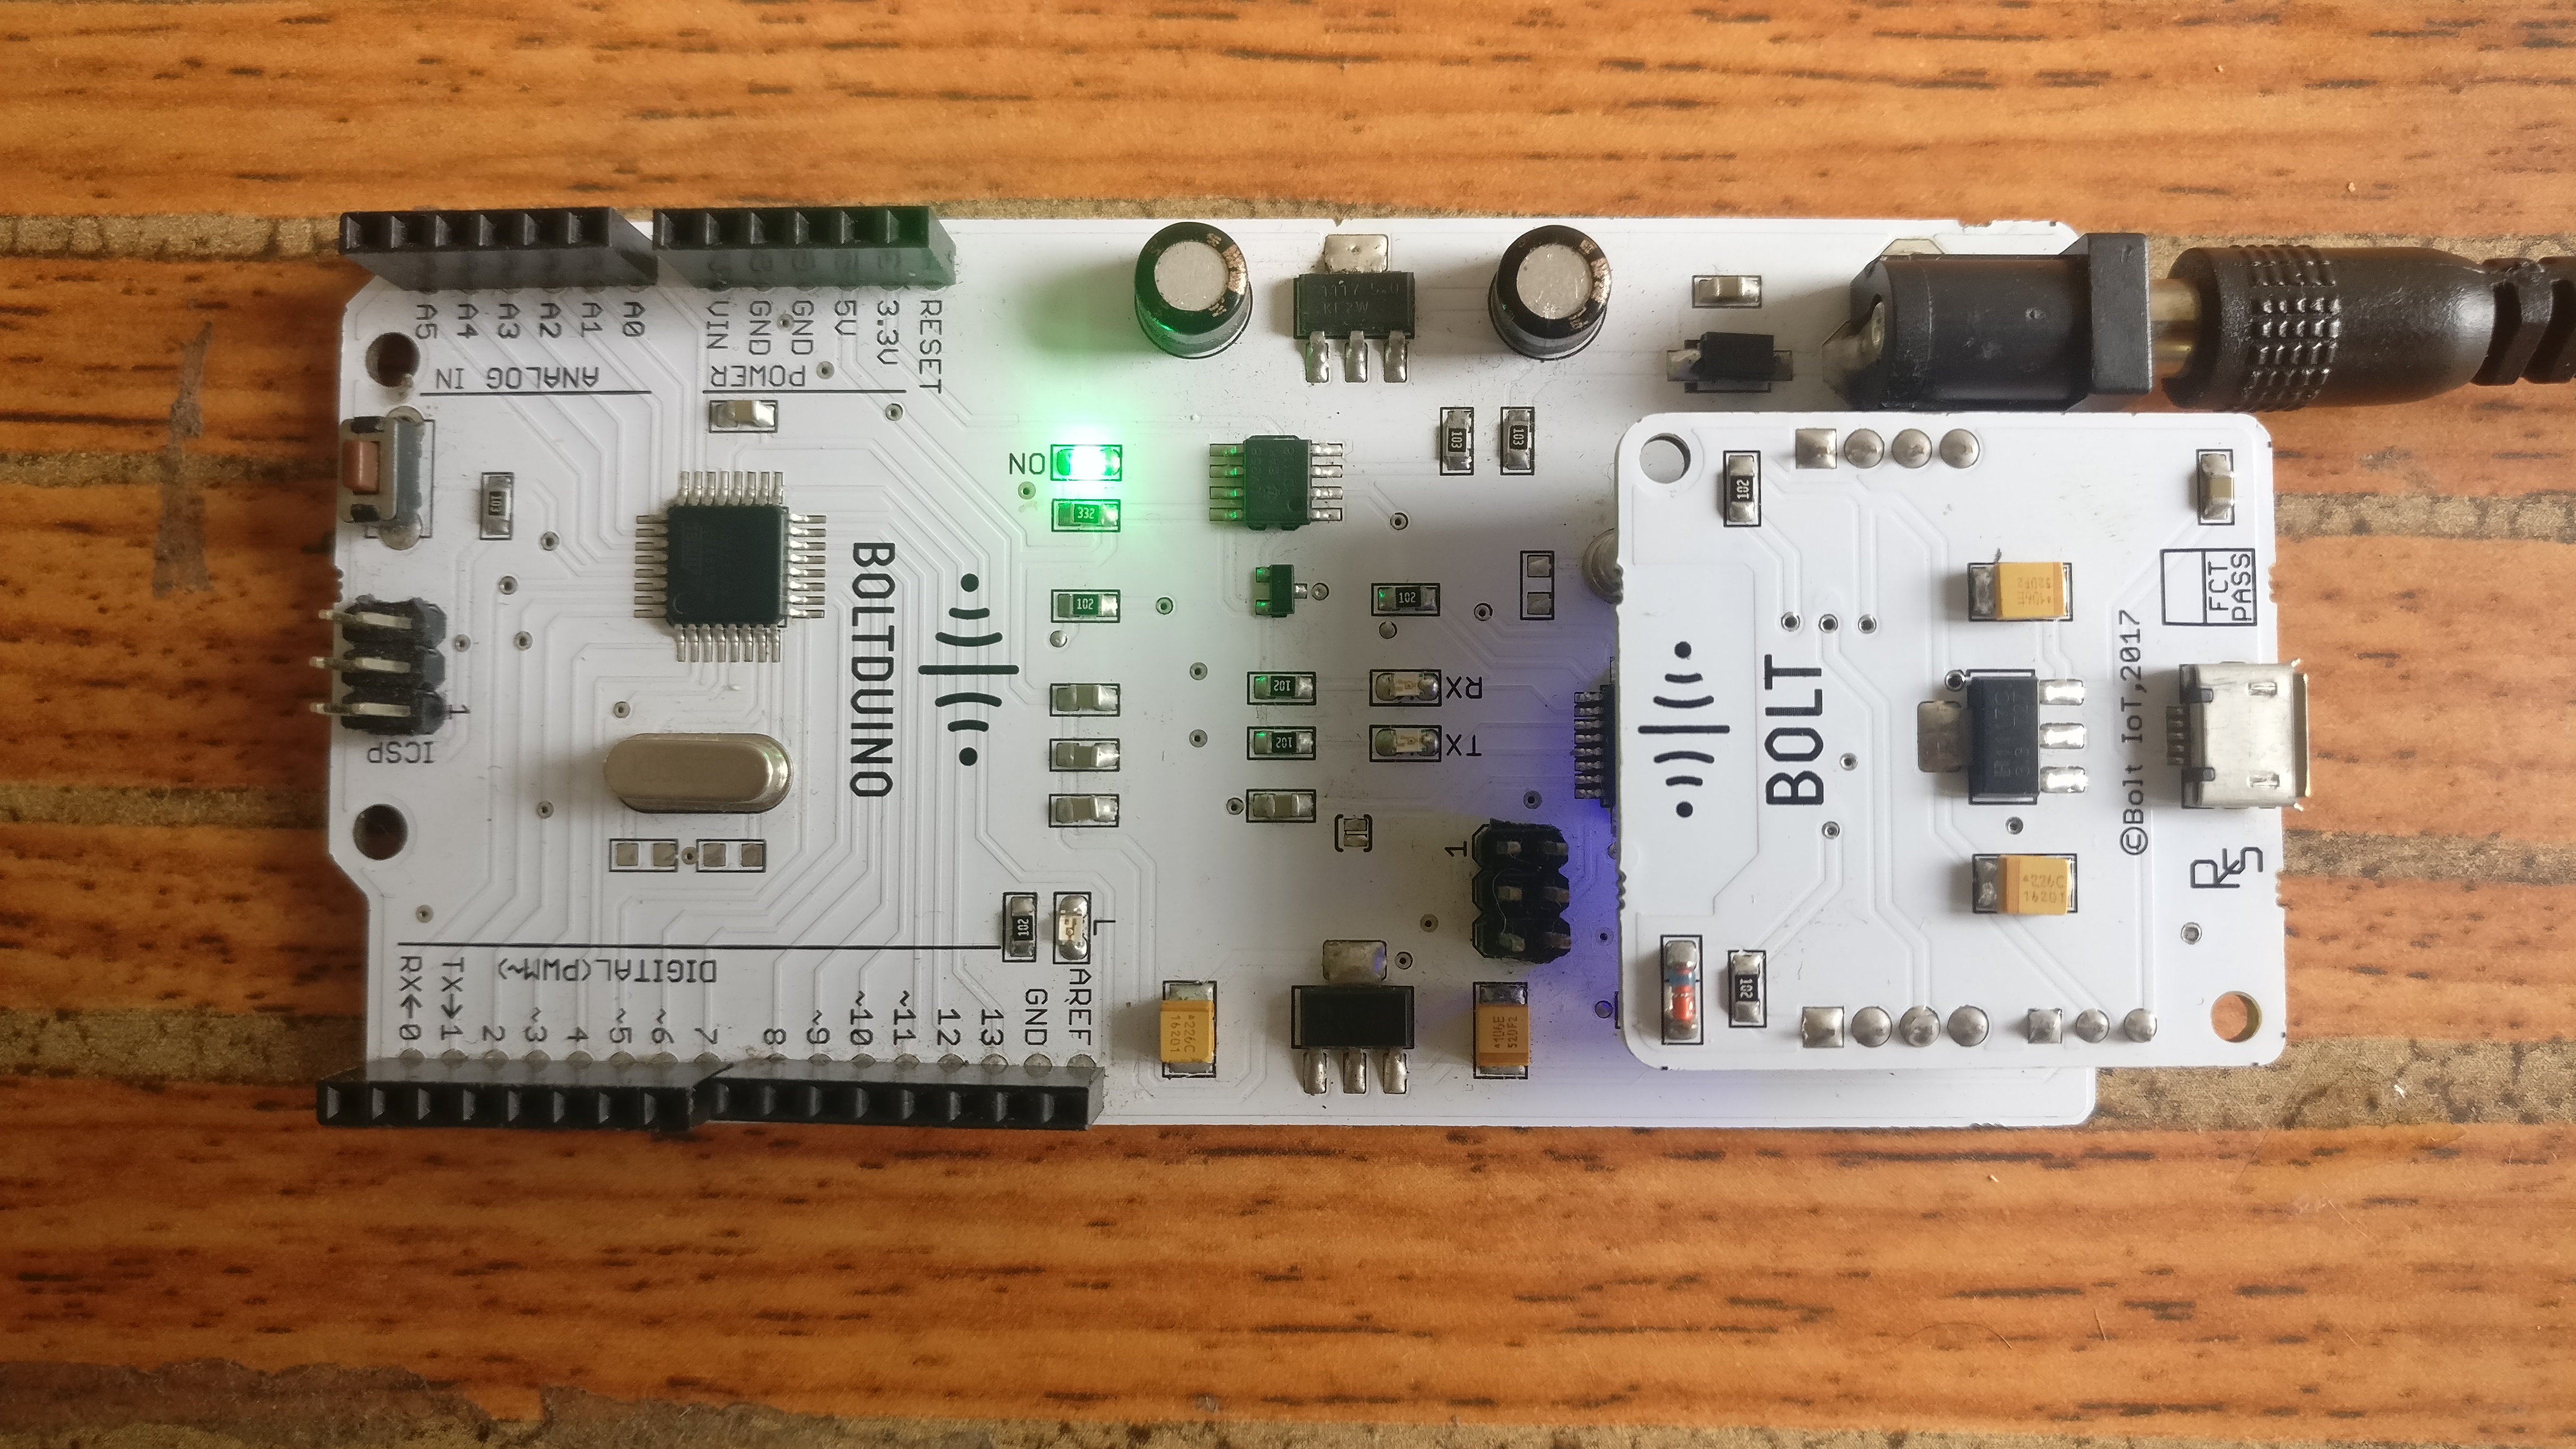
Via the DC jack. Use a standard 9v or 12v adapter
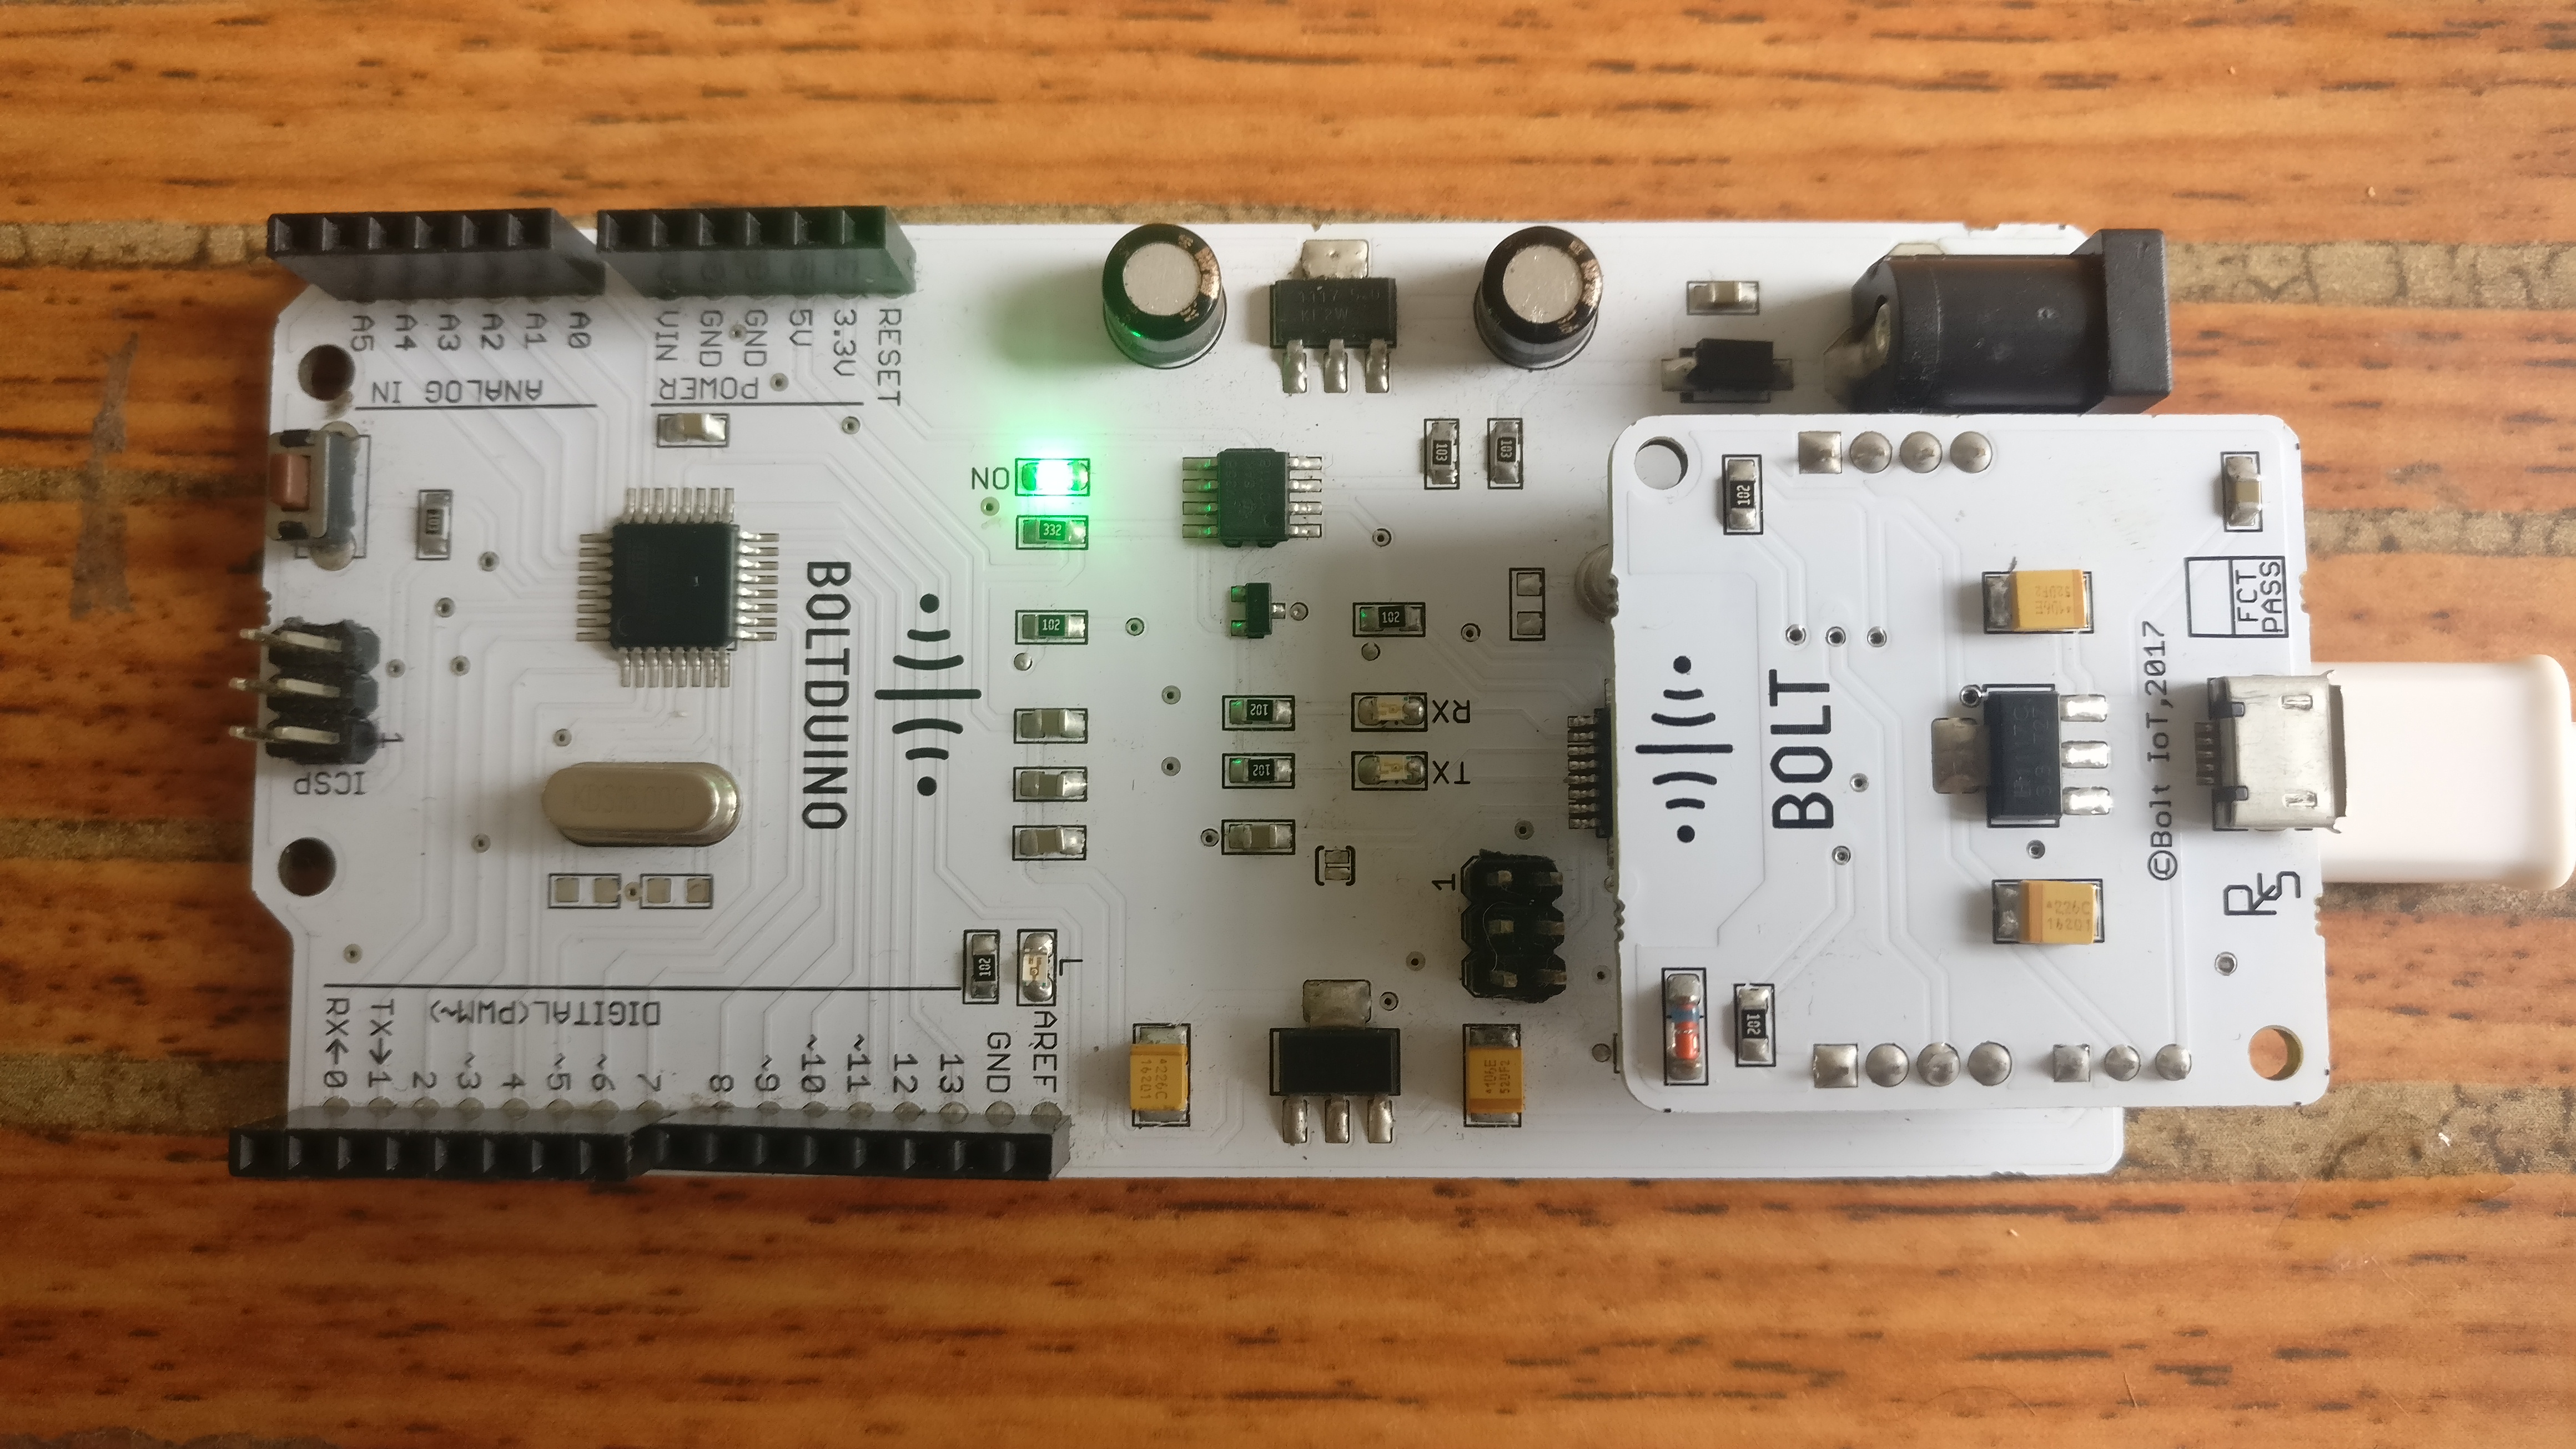
Via the micro USB port on the Boltduino.
Via the micro USB port on the Bolt
- If you have not already done so, configure your Bolt unit to connect to the Bolt Cloud. Click here for instructions on how to connect the Bolt unit to the Bolt Cloud.
The Hardware setup is now complete.
The End
